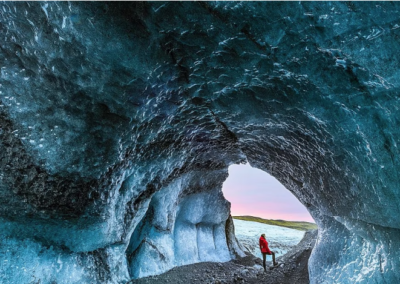
The 25 Best places to see the northern lights in Iceland
As photographers and northern lights chasers from Aurora Reykjavík, we’ve spent countless nights under Iceland’s incredible skies. With years of experience, we know the best places to catch the auroras. And how to have fun while doing it!
Whether you’re heading out for a solo adventure or joining a tour, we’re here to share our favorite spots to watch the northern lights. Spoiler alert: there’s no single “best place” to see them because the lights can pop up anywhere!
That said, some spots are more scenic or easier to reach than others, so we’re breaking down 25 of our top picks.
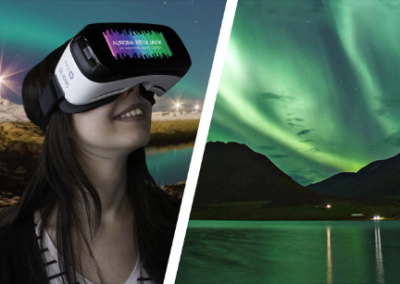
Let’s dive into our favorite northern lights locations and throw in some safety tips to keep you warm and cozy on your adventure. And hey, if you’re not up for the DIY route, we’ve got you covered with guided tours. Because sometimes it’s nice to just sit back and enjoy the show.

1. Grótta Lighthouse: One step outside of Reykjavik!
Here, you will automatically face North if you observe the lighthouse. This is the direction where the lights usually occur from.
Pro Tips
- Arrive Early for Best Positioning: Grótta is popular, especially during aurora season. Arriving early lets you secure the best spots, particularly if you want to include the iconic Grótta lighthouse as a foreground element. This helps frame the Northern Lights beautifully, adding structure to your composition.
- Tide Awareness: Check the tide schedule before heading out. Grótta is surrounded by water, and at high tide, some of the pathways can be inaccessible. Don’t get stuck on the island!
- Settings for Northern Lights: Use a tripod and set your exposure between 5-20 seconds, depending on aurora intensity. A wide-angle lens is ideal, allowing you to capture both the lights and the expansive coastal landscape. Also, keep your ISO between 1600-3200, adjusting for the aurora’s brightness and the surrounding darkness.
- Foreground Interest with the Lighthouse: Including Grótta lighthouse in your shot adds a sense of place and scale, creating a captivating focal point against the dancing lights. Use the lighthouse to frame your photo or as a silhouette to emphasize the vibrant sky.
- Capture Reflections in Pools: If the tide is low, look for shallow pools along the beach that can mirror the auroras. As these reflections add a layer of depth and visual interest, the lights appear even more magical.
2. Garður Lighthouse: As far as you can go!


3. Reykjanesviti Cliffs: Nature at its most raw!
The building is surrounded by rugged cliffs, volcanic landscapes, and geothermal hot springs. Just offshore, dramatic sea stacks rise from the ocean, adding a striking element to the scene. At this unique spot, can be found unobstructed views over the North Atlantic, perfect for Northern Lights enthusiasts. The auroras dancing over the lighthouse, with the sea stacks silhouetted against the vibrant sky, create a mesmerizing and unforgettable experience. Reykjanesviti is truly an ideal destination for those seeking a scenic and secluded spot to witness the magic of the Northern Lights.
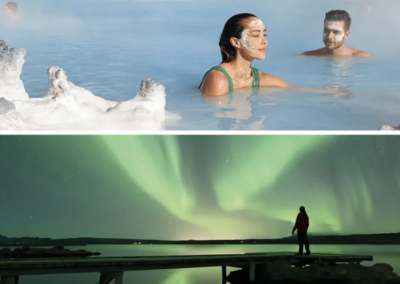
4. Blue Lagoon: Combine comfort and beauty!


5. Kleifarvatn Lake: Let the calm inspire you!
There are several small parking lots along the road, with different view points.
6. Þingvellir National Park: See the lights between the continents!


7. Gullfoss Waterfall: A true adventure!
8. Geysir Geothermal Area: Double the surprise, double the fun!
Here are some tips to make the most of your visit:
- Positioning is Key: Arrive early to scout out the best angles. Stand slightly off-center to avoid getting splashed when Strokkur erupts, and choose a spot that gives you a good view of the surrounding landscape for added depth in your shots.
- Know the Timing: Strokkur erupts roughly every 5-10 minutes, so keep your camera ready. Use a fast shutter speed to freeze the explosive moment or slow it down for a softer, mistier effect, especially in lower light.
- Capturing Northern Lights: If you’re photographing the auroras, a tripod is essential. Set your exposure between 5-15 seconds, depending on the light intensity, and adjust your ISO to capture enough detail without too much noise.
- Consider the Foreground: The pools around Strokkur reflect the Northern Lights beautifully. Try positioning the geyser as your focal point and use the reflections as an added element, or focus on the bubbling hot springs for an atmospheric effect.
- Geysir isn’t just about capturing the perfect photo; it’s about embracing the moment, the anticipation of the eruption, and the dance of light and water. With a bit of patience and creativity, you’ll walk away with images that capture the soul of Iceland.


9. Seljalandsfoss Waterfall: Capture the magic of Iceland!
Pro Tips:
- Timing with Solar Activity: Seljalandsfoss faces west, which means you’ll need strong solar activity to catch the Northern Lights in the right spot.
- Finding the Best Angle: One of the most magical shots is from behind the waterfall, but it can get slippery and wet, especially at night. It’s better to walk a bit further away along the road, to get the full waterfall, but also leave enough space for the sky.
- Foreground Elements: The spray from the falls adds a beautiful, misty quality to your shots. Experiment with compositions using the water as your foreground and the auroras as the backdrop. This layered effect can create a truly dynamic image.
- Protect Your Gear: Be prepared for the spray—it can fog up your lens and make for a slippery walk behind the falls. Bring lens cloths and protective covers, especially if you’re trying for shots from behind.
- Get Creative with Light: Try including a soft light source, like a headlamp or low-output flashlight, to gently illuminate parts of the foreground. This can add depth to your photo, highlighting details in the rocks and water without overpowering the natural light from the auroras. Seljalandsfoss itself is illuminated at night, making it tricky for close-ups, unless you stack images with different exposure times.
10. Eyjafjallajökull Volcano: The best that Iceland has to offers!
Here are some tips for capturing its magic:
- Check Aurora and Weather Forecasts: The glacier sits at high elevation and can often be shrouded in clouds or mist. For aurora photography, you’ll need clear skies and moderate to high solar activity for the Northern Lights to be visible over the glacier.
- Find a Vantage Point: Eyjafjallajökull is vast, so finding a spot with an open view is essential. Look for higher ground nearby or fields in the surrounding area for a perspective that lets you capture both the glacier and the night sky. A wide-angle lens is ideal here to include both the expansive landscape and the auroras.
- Adjust for Darkness: The glacier and surrounding terrain can be quite dark at night. Use a tripod and set a long exposure—around 10-25 seconds—to capture detail in the glacier and sky. Keep your ISO between 1600-3200 and experiment with aperture settings to balance sharpness and light.
- Include Foreground Elements: If possible, incorporate some foreground elements like the rolling hills or even local landmarks such as the Þórsmörk valley, adding depth to your composition. The layers of land, glacier, and auroras create a powerful visual story.
- Be Prepared for Harsh Conditions: Iceland’s weather can be extreme around Eyjafjallajökull, especially at night. Bring protective covers for your gear and warm clothing for yourself. Strong winds and icy conditions can be common here, so be prepared to adapt quickly.
- Timing with Moonlight: If the Northern Lights are strong and the moon is out, the moonlight can illuminate Eyjafjallajökull, creating a striking contrast with the vibrant auroras above. This added light can bring out the glacier’s textures and add a subtle glow to the landscape.


11. Skógafoss Waterfall: Pure Icelandic beauty!
Pro tips:
- Capture the aurora framed by the waterfall for an awe-inspiring combination of natural phenomena.
- Use a wide-angle lens to capture the full grandeur of the falls and the sky above.
- Consider shooting from the base of the waterfall for a dramatic foreground.
- The mist from the waterfall can make for some interesting long-exposure shots, where the lights reflect off the spray.
12. Reynisfjara Beach: Add some thrill to your aurora hunt!
Photography Tips:
- Use the basalt columns as foreground elements to frame the aurora.
- Capture the aurora’s reflections on the wet black sand after the tide recedes.
- A sturdy tripod is essential to combat the strong coastal winds during long exposures.
Accessibility:
Reynisfjara is accessible year-round, but always exercise caution as sneaker waves can occur. Stay at least 30 meters from the waterline.


13. Kerlingarfjöll: Auroras and steam, the perfect combination!
Pro tips:
- Capture the contrast between the glowing aurora and the steaming geothermal vents.
- A wide-angle lens will help include the dramatic landscape and sky.
- Plan your visit for early autumn or late spring when the highland roads are passable.
Accessibility:
Kerlingarfjöll is typically accessible from late June to early September. Roads may require a 4×4 vehicle.
14. Jökulsárlón Glacier Lagoon: We put the ice in Iceland!
Photography Tips:
- Capture the Northern Lights as they reflect off the calm waters of the lagoon for a stunning mirrored effect.
- Use the floating icebergs as foreground elements to add scale and drama to your shots.
- For a unique perspective, shoot from various spots along the shoreline for different angles of the aurora and ice.


15. Vestrahorn: Capture the wall of light!
Photography Tips:
- Use the black sand dunes and shallow tidal pools in the foreground to create stunning reflections of the aurora and the Vestrahorn peaks.
- A wide-angle lens is essential to capture both the Northern Lights and the towering mountains in a single shot.
- For dramatic results, shoot during low tide when the reflections on the wet sand are more pronounced.
- Be mindful of the coastal winds, especially in winter, and dress warmly when waiting for the lights to appear.
16. Arctic Henge: as North as possible!


17. Dettifoss Waterfall: Take the opportunity when you can!
Pro tips:
- Position yourself at a distance to capture the entire waterfall under the aurora.
- Long exposures will soften the water’s movement while emphasizing the aurora’s brightness.
- Use waterproof gear to protect your equipment from mist and spray.
Accessibility:
Dettifoss is typically accessible in the summer months. During winter, the roads are often closed due to snow and ice.
18. Aldeyarfoss Waterfall: The effort is worth it!
Photography Tips:
- Frame the waterfall with the basalt columns and aurora for a dynamic composition.
- Shoot long exposures to blur the water’s motion while keeping the aurora crisp.
- Wear crampons to navigate icy trails safely during autumn or early winter.
Accessibility:
Best visited in summer or autumn before heavy snowfall blocks access. A 4×4 vehicle is recommended.


19. Lake Mývatn: See it to believe it!
Photography Tips:
- Focus on reflections in the lake’s still surface for a dramatic effect.
- Use the pseudocraters or lava formations as foreground elements.
- Scout locations during daylight to find the perfect vantage point for unobstructed views.
Accessibility:
Lake Mývatn is accessible year-round, but icy roads in winter may require caution.
20. Goðafoss Waterfall: Get close to Valhalla!


21. Hraundrangar Peak: Be swept away by Iceland’s magic!
Pro Tips:
- Use the peak as the central element, creating a dramatic focal point.
- Include foreground elements such as snow-covered rocks or vegetation to add depth.
- Experiment with longer exposures to capture aurora motion and surrounding stars.
Accessibility:
Hraundrangar is accessible year-round, but winter conditions may require careful navigation of icy roads.
22. Hvítserkur: Are you ready to face the Troll?
Photography Tips:
- Capture Hvítserkur’s reflection in the shallow water during low tide.
- Use a wide-angle lens to frame the aurora and the sea stack together.
- Long exposures will enhance the aurora and create smooth water textures.
Accessibility:
Accessible year-round, but icy roads in winter require caution and a 4×4 vehicle.


23. Kirkjufell: The popularity is well earned!
Photography Tips:
- Use Kirkjufell as the focal point, with Kirkjufellsfoss waterfall in the foreground.
- Frame the scene so that the aurora appears to radiate from the peak of the mountain.
- Arrive early to secure a good spot, as this location is popular with photographers.
24. Snæfellsjökull: See the glacier come to life!
Photography Tips:
- Include the glacier in your composition to highlight its reflective qualities.
- Use a wide-angle lens to capture the aurora sweeping over the glacier.
- Adjust white balance to bring out the natural hues of the glacier and aurora.
Accessibility:
Snæfellsjökull is accessible year-round, but higher elevations may require a 4×4 vehicle in winter.


25. Búðir: A little bit of everything!
Pro Tips:
- Capture the Northern Lights dancing over the iconic Búðir church for a striking contrast between the lights and the simple, yet stunning, black church.
- Use the surrounding lava fields or the glacier in the background as interesting foreground elements to add depth and drama to your photos.
- A wide-angle lens is essential to capture both the sweeping sky and the silhouette of the church and mountains.
- Long exposure shots will help capture the motion of the aurora, while keeping the church and landscape crisp.
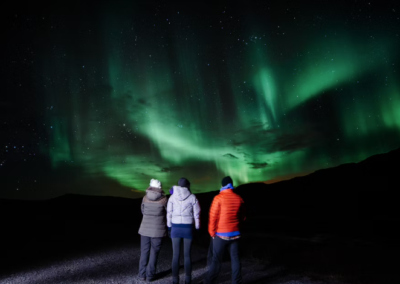
Staying Safe While Hunting for the Northern Lights
Chasing the aurora can take you to remote and often icy locations. Here are some essential safety tips:
- Check the Weather Forecast: Always review local weather conditions on sites like Vedur.is or https://aurorareykjavik.is/aurora-forecast/ to avoid sudden storms or dangerous winds.
- Use Safe Travel Resources: Visit SafeTravel.is for updates on road conditions, weather warnings, and emergency information. Their app is a great tool to have on your phone.
- Drive Safely: Roads in Iceland can be slippery and unpredictable, especially in winter. Use a 4×4 vehicle with winter tires, and avoid off-road driving.
- Stay Visible: Wear reflective clothing and bring a flashlight or headlamp when walking in dark areas.
- Pack Essentials: Carry a fully charged phone, warm drinks, snacks, and a first-aid kit. Extra batteries for your camera and flashlight are also a must in cold conditions.
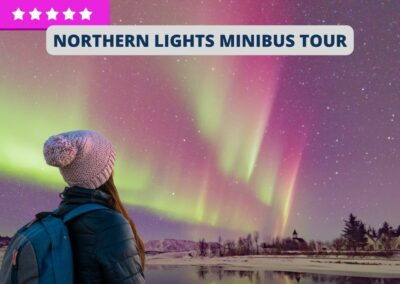
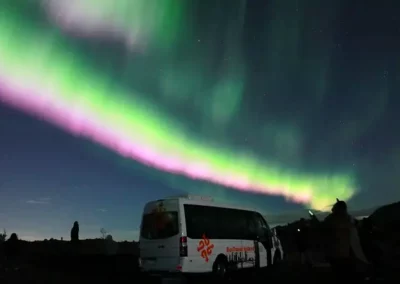
- Travel with Others: If possible, hunt for the aurora in a group or join a guided tour for added safety and expert knowledge. Check our tours here:
Check out our Northern Lights Locations map and find the best viewing spots:


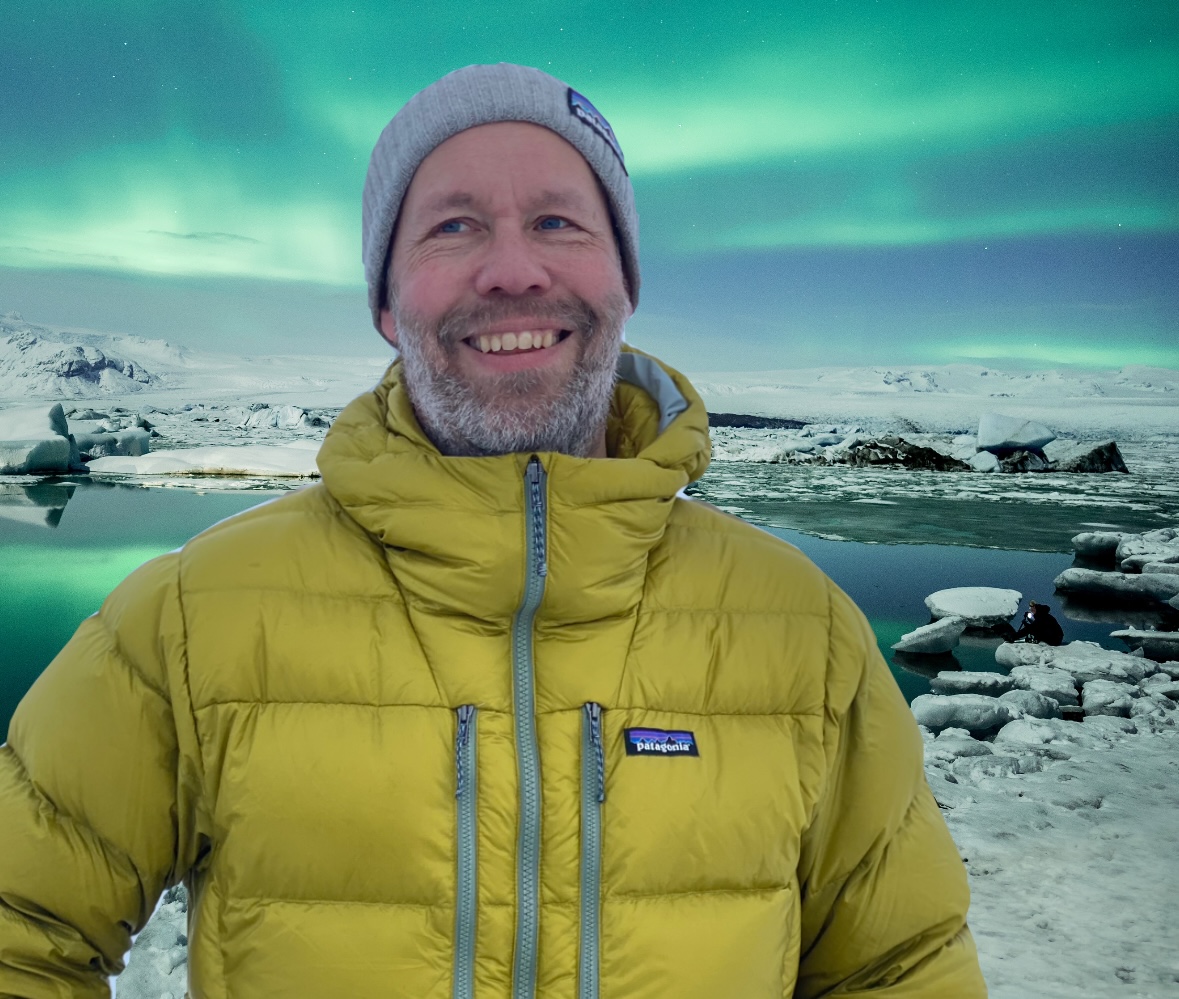
Grétar Jónsson
Founder of Aurora Reykjavík and one of Iceland’s best-known Northern Lights experts
Grétar has spent decades studying, photographing, and explaining the aurora borealis in Iceland and is a frequent advisor to travelers, guides, and media seeking accurate Northern Lights information.