SMALL GROUP NORTHERN LIGHTS TOUR incl. PHOTOS
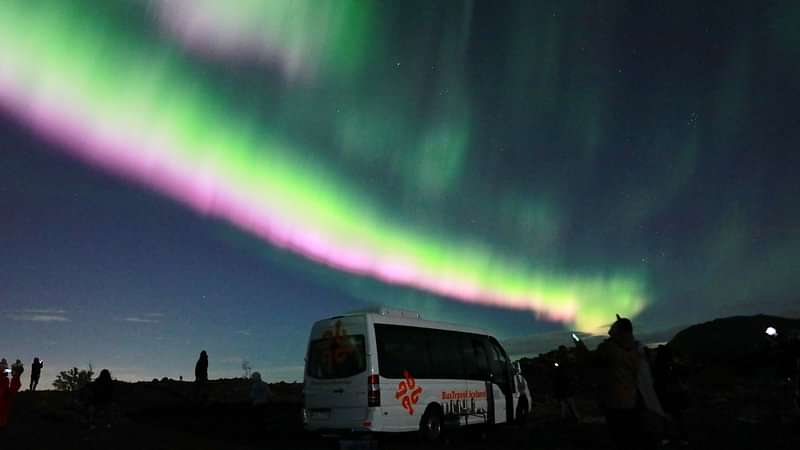
Northern Lights Minibus Tour with Free Photos
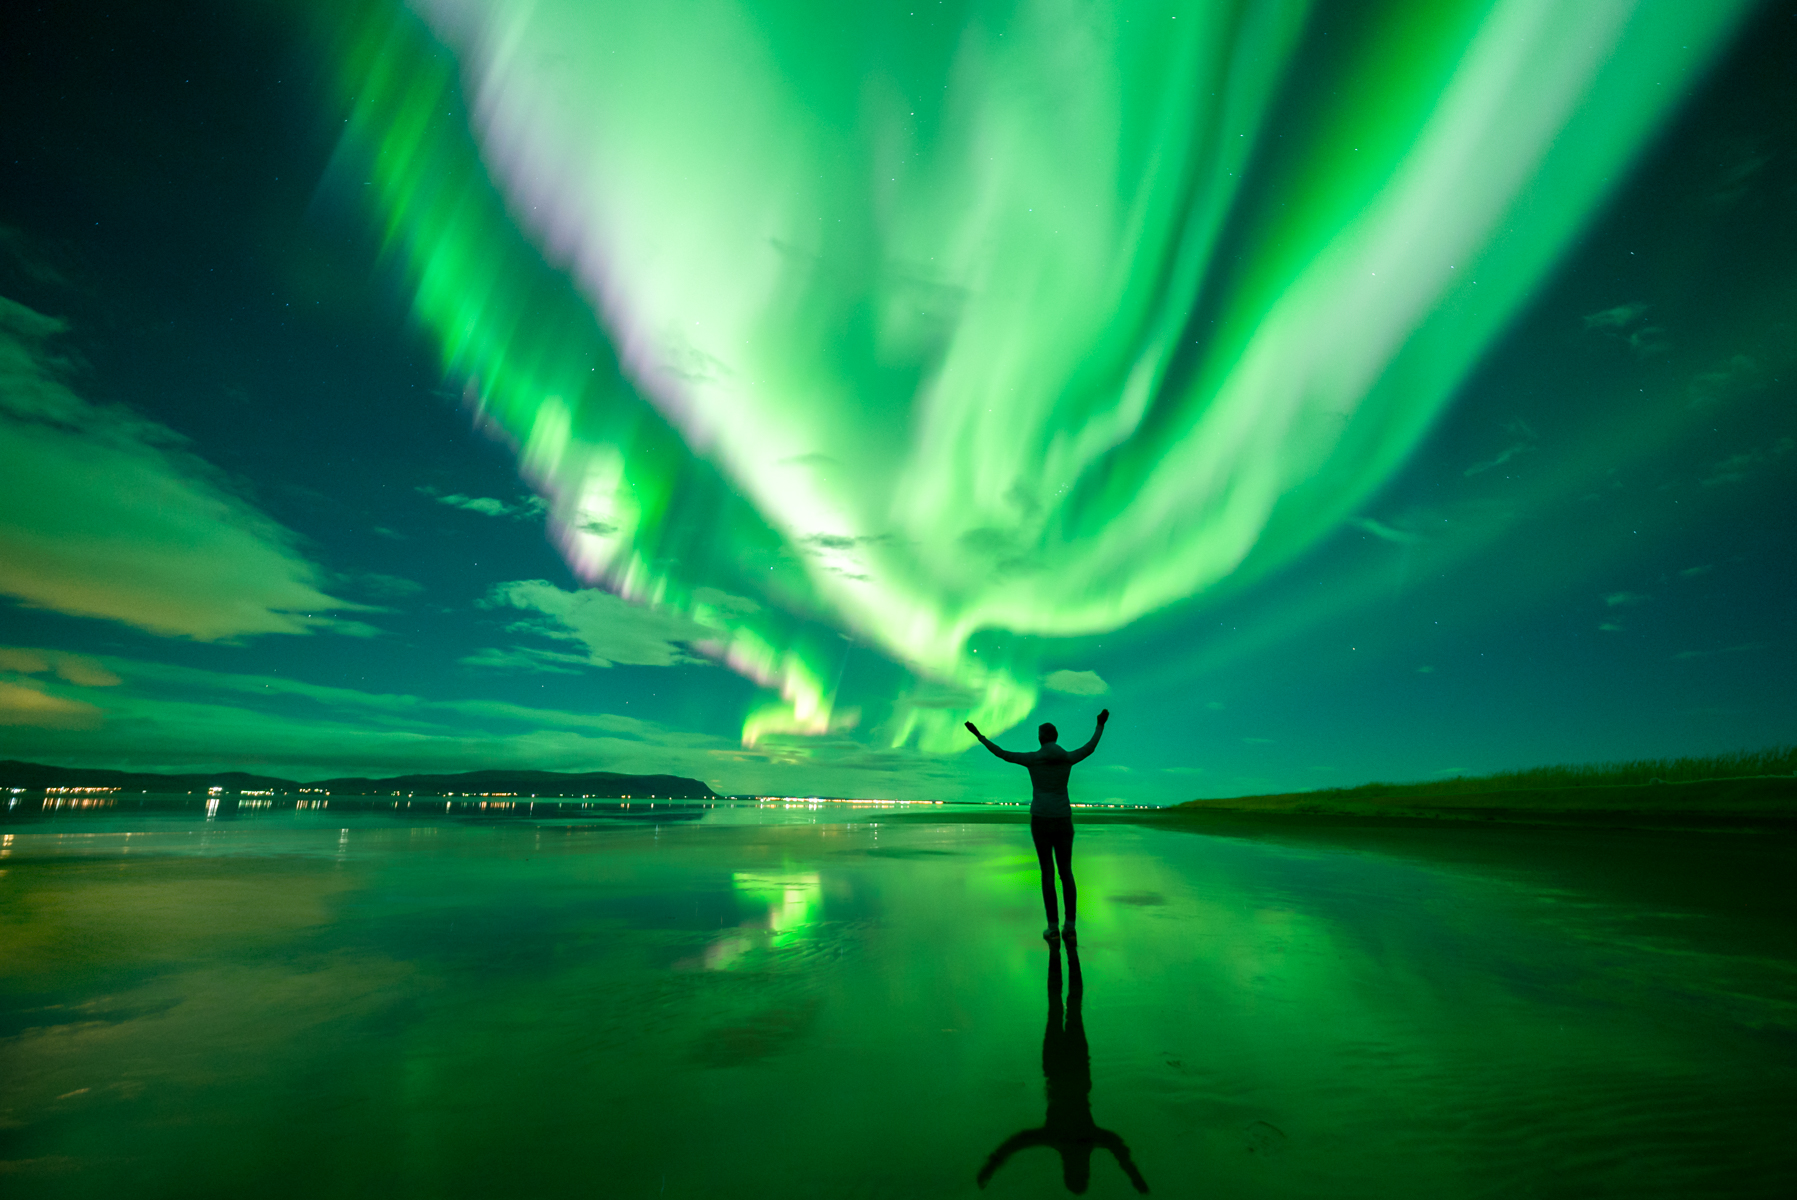
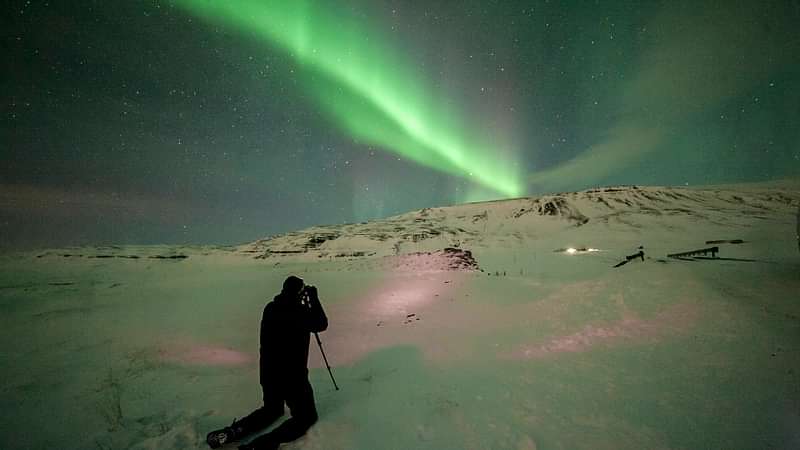
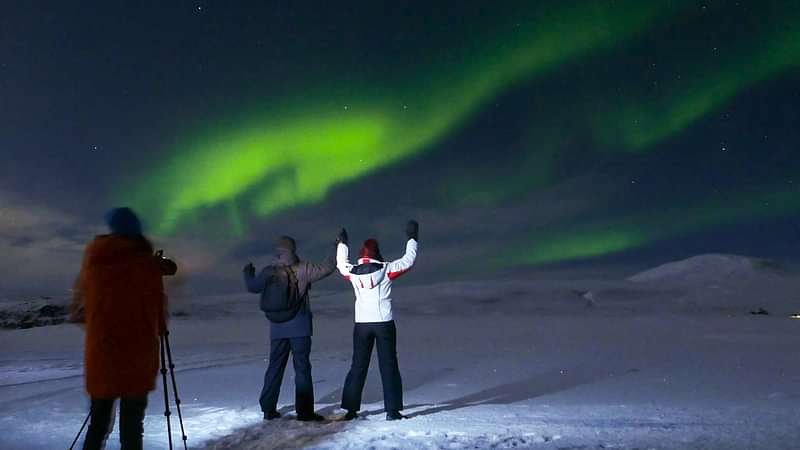
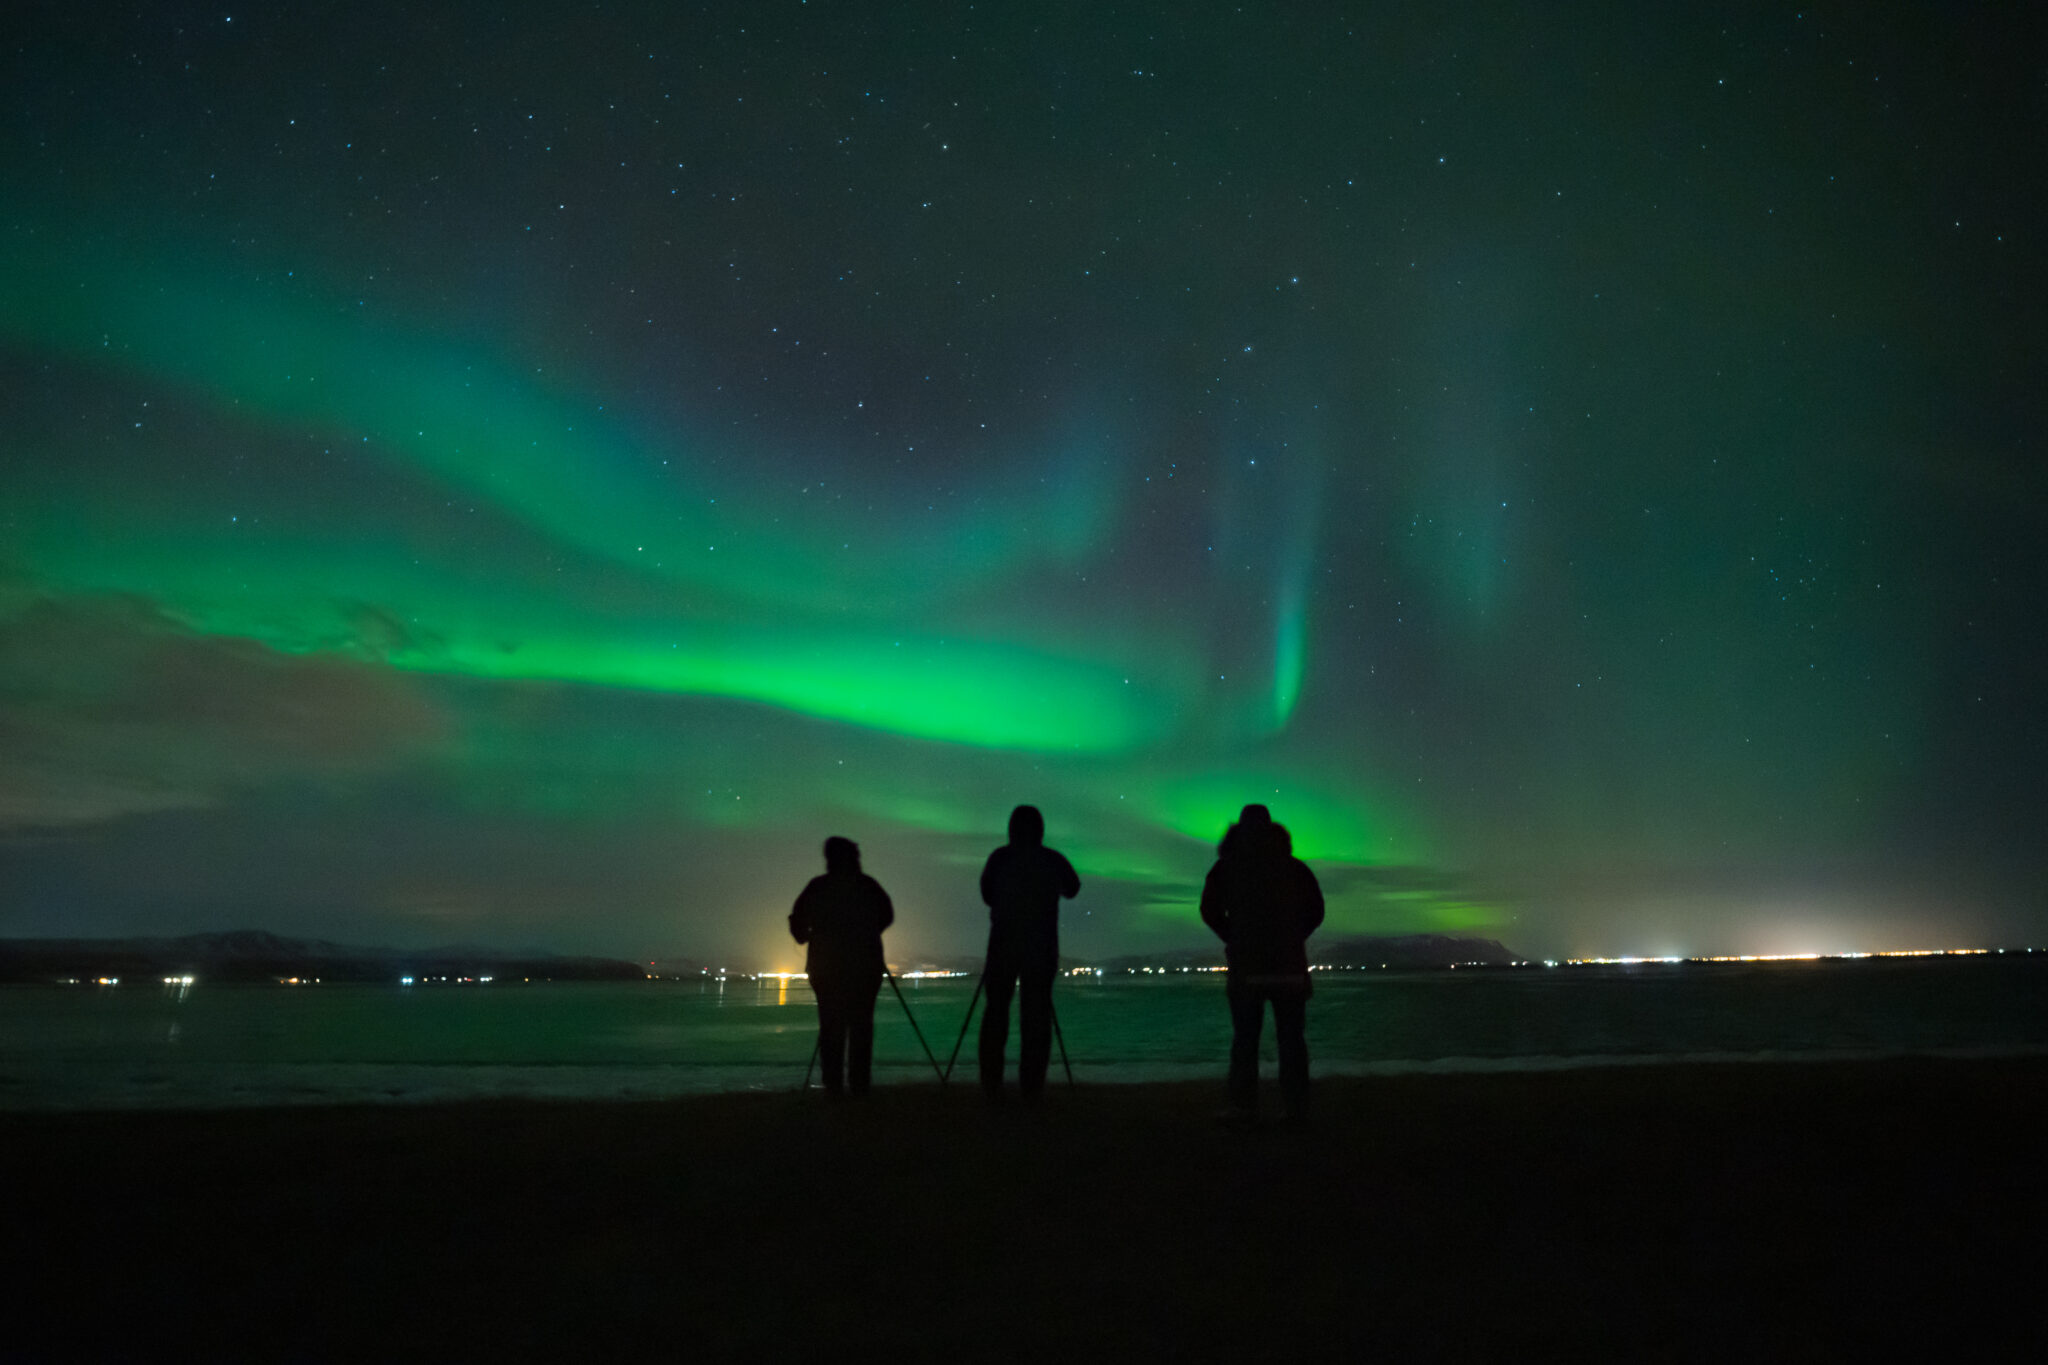
We will take you to the best locations and help you get that perfect Northern Lights pic. Your guide will also take great photos of you with the aurora as your background.
Small group experience
This tour is suitable both for those looking for a small group size and photography enthusiasts alike! Choosing a small group option will offer you a more personalised experience, ensuring our guide will have enough time for everyone.
Furthermore, you will receive free photos after the tour!
Best location
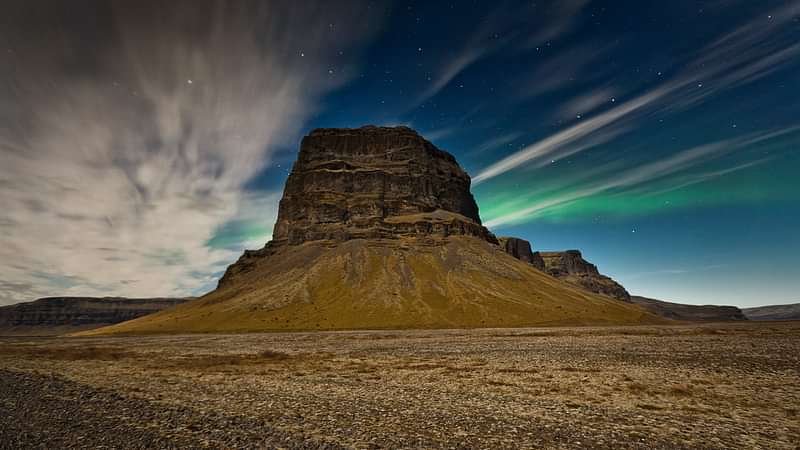
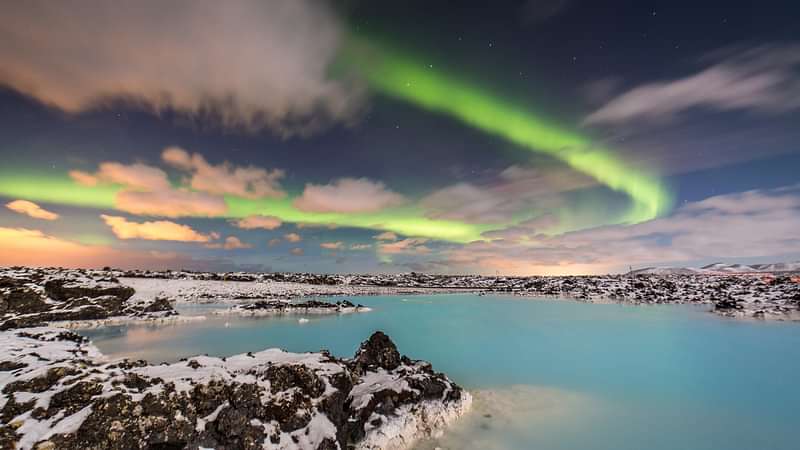
On this tour, we will bring you to remarkable places with stunning backdrops, for your once in a lifetime aurora experience.
The location will always depend on weather conditions, and our professional team will work hard during the day to pinpoint the perfect cloud free location, studying the weather data for that evening.
Free retry
For those nights where mother nature is not on our side, you will still be treated to a night sky full of stars, and offered a complimentary rebooking on the classic northern lights bus tour.
- FREE CANCELLATION
- BEST PRICE GUARANTEE
- NO BOOKING FEES
- FAST & SECURE PAYMENT

Please click here for the best alternative.
Tour details
Itinerary
- Your evening will start with pick-up service, included in the price.
- After the tour you will be brought back to Reykjavik and dropped off at your designated location.
Duration
- 4 hours
Please note
- Children under the age of 8 years old are not permitted on this tour.
Cancellation policy
- We will charge a cancellation fee of 100% if booking is cancelled 1 day or less before event
What’s included
- Northern Lights hunting experience
- Professional Northern Lights Guide
- Free photos from your northern lights tour
- Icelandic hot chocolate and snacks
- In case that you don’t see the Northern Lights, you can reschedule your retry for free on the classic Northern Lights Bus Tour
Exclusions
- Food and drinks other than refreshments
What do I need to bring?
✓ Your camera
✓ Warm clothing and good sturdy shoes

